The Approach
Mountains: Traverse - Little Bear Peak (14,037’) to Blanca Peak (14,345’)
Route: Started at 10,400’on Lake Como Road, climbed the NW Face to LB summit, traversed to Blanca Peak and on to Ellingwood Point. Descended part of the SW Ridge on Ellingwood Point
Stats:
Elevation Gain (from 10,400’) - 5500’ (approx)
Total Mileage - 12 miles (approx)
Round-trip Time – 13 hours
Somewhere along the way I acquired a taste for exposed ridge runs and this weekend the prospect of a delightfully exposed ridge run turned me away from my 14er goals for the year. This Friday I set out to the Sangres with doumall (one of the biggest exposure fanatics I have seen), Debbie, and doumall’s buddy John. After at least a kilogram of food each at the Golden Corral at Pueblo, we headed for Lake Como Road and started driving up it at 10:30PM. After a combination of ace off-road driving and luck we managed to get to 10,400’ (a 10 minute hike from Jaws I) on the Road fairly quick without too many disheartening sounds from the under-carriage. We went to bed at close to mid-night. Before I start describing the route I must mention that if you would like to preserve the element of surprise stop reading right now. This is one of the most elaborate spoilers I’ve seen for this traverse.
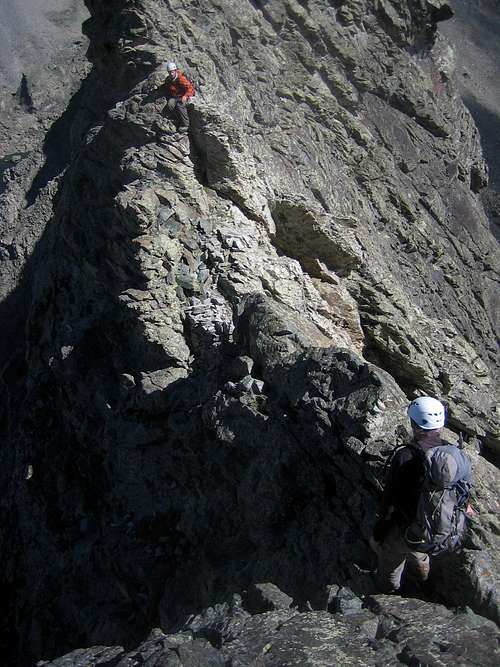
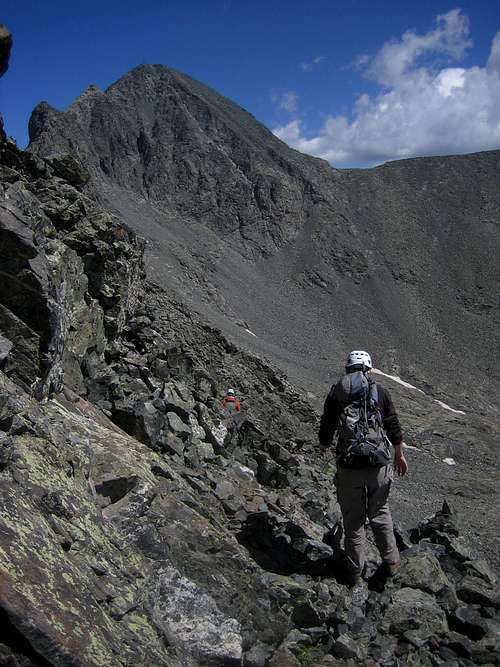
The NW Face on Little Bear
I was woken by a crazy dream, where Albert Einstein was instructing me to climb Dallas instead of Jagged while I protested because I’d already climbed Dallas. This was a little before 4 AM and I proceeded to wake everybody else up as well. It was a completely clear night and a bit chilly. We quickly ate breakfast, readied our packs and hit the trail at 4:50AM. Unfortunately, in a short while John had to turn back because of a terrible case of food poisoning he’d contracted the previous day. The rest of us felt rather light headed from the previous night’s heavy oily dinner and crawled up to Lake Como at around 6:15AM. To compound our problems my fingers froze just before we started climbing the NW Face on Little Bear, our chosen route for the day. We walked up talus to the base of the face and strapped our poles away to our packs. The climbing was easy Class 3 and some Class 4 until we got off route and ended up having to climb over a low 5th Class headwall which had a couple 5.3 – 5.4 moves on it.
![NW Face 1]()
![NW Face 2]()
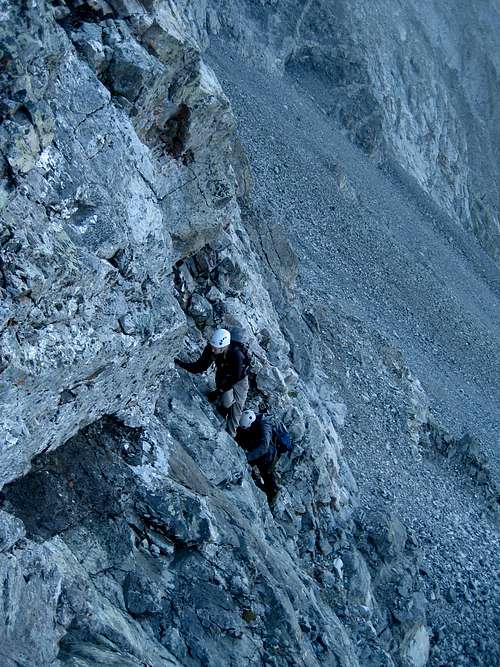
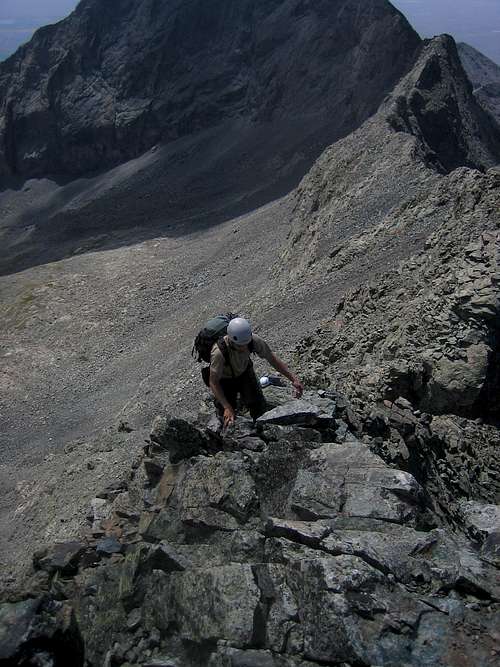
This was no easy task with completely frozen fingers and doumall had to provide a foot for me to use as a handhold. To stay on route here, skirt the Black Hand to its right, but don’t stay in the gully that’s too close to it. Instead, move further out to the right. I have descended the NW Face in the past and went far to the right (climber’s right) of the Black Hand to stay on ledges). The rest of the face involves the occasional exposed Class 3 / 4 move.
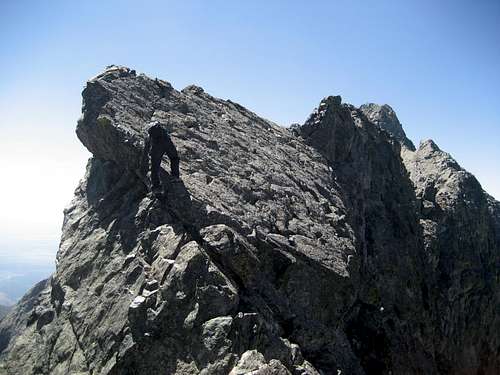
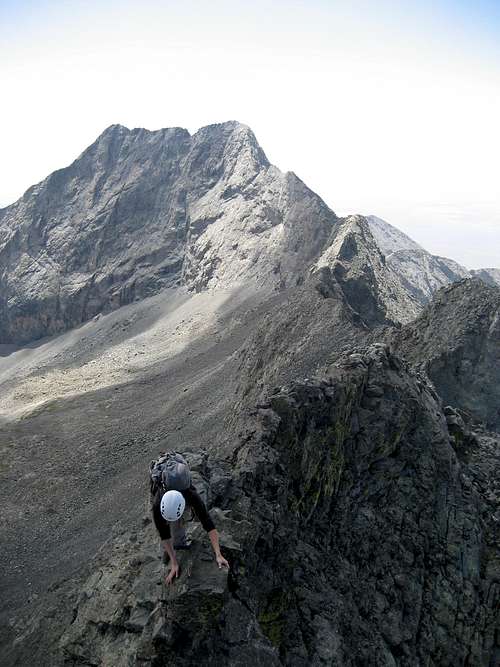
Much of the route is loose and exposed to rock fall from the face and the traverse above. We finally got to the ridge and the knife edge up to the summit (this is considered by many as the crux of the traverse, but I disagree).
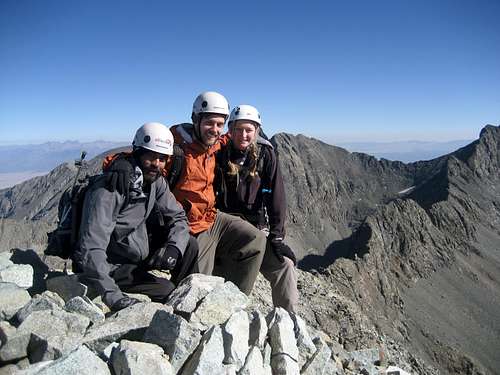
Here for the first time we were able to catch some sunlight and warm up. We topped out at 10AM, much later than we would have liked.
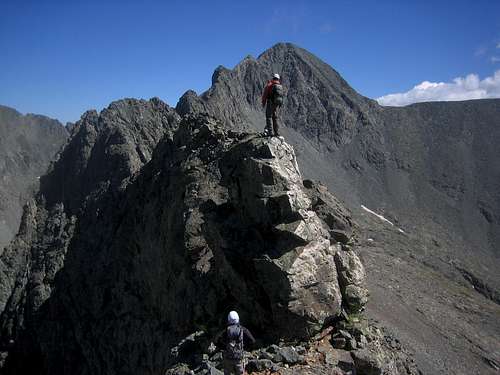
The Traverse to Blanca
We saw two other groups of two and three people heading out across to Blanca. This might be the optimal group size for this traverse. We ate some trail mix, hydrated and warmed up. At 10:25AM, we stood up and considered our future. We weren’t likely to get better weather than this.
In my humble opinion you need immaculate weather, proper preparation, oodles of confidence and concentration when you embark on this traverse. I considered this the second most exposed un-roped climb I’ve done. The most difficult climbing on the ridge is no more than Class 4/low 5th (provided you stay right on the crest, if you climb down in search of ledges, you are hosed) but the exposure is significant on both sides for much of the ridge.
We quickly down-climbed the down-sloping knife edge. There are more pictures of the knife edge on this report I posted earlier… http://www.14ers.com/php14ers/tripreport.php?trip=3464&parmpeak=Little+Bear+Peak&np=2&cpgm=tripmain
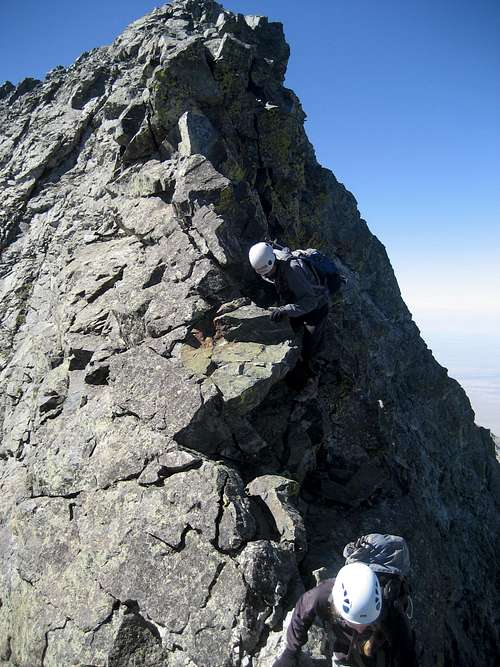
![LB - Blanca Traverse 2]()
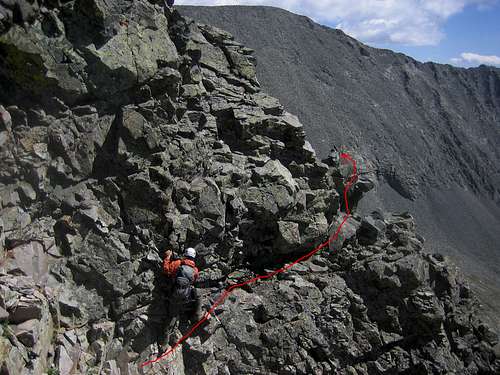
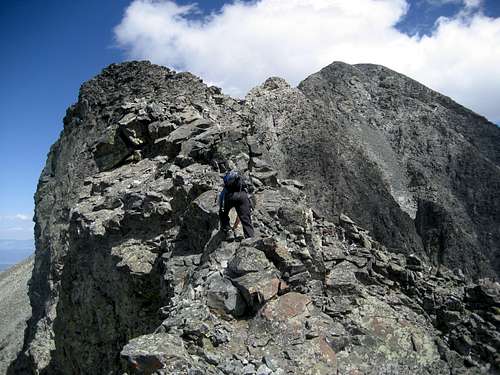
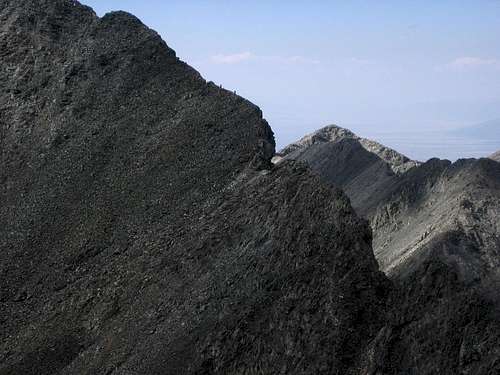
The ridge is a mess of towers, knife edges and exposed catwalks. The quickest solution to the first tower we encountered was to climb right over and across it. Most descriptions suggest climbing across it on the left citing a questionable down-climb on the other side, but the down-climb is very doable with some patience and a clear mind. Several online route reports we found, described this first tower as Captain Bivwacko tower, but I question this (I captured a picture of the actual culprit and inserted it later in this report).
Trying to skirt the tower on the left or the right would have caused unnecessary delay. There was another down-sloping knife edge past the tower. Don’t expect exposure to ease up on this traverse. Go into it prepared for anything.
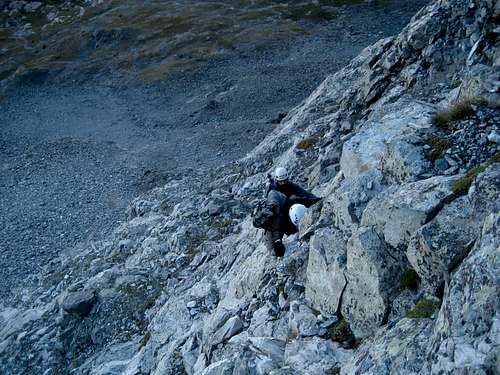
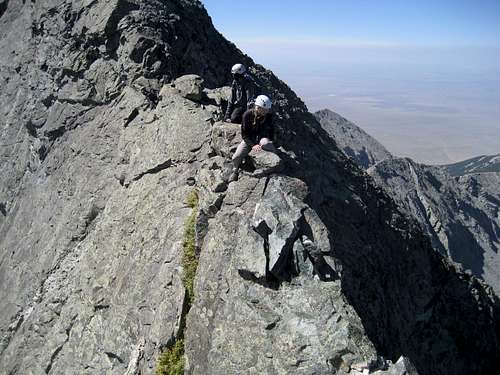
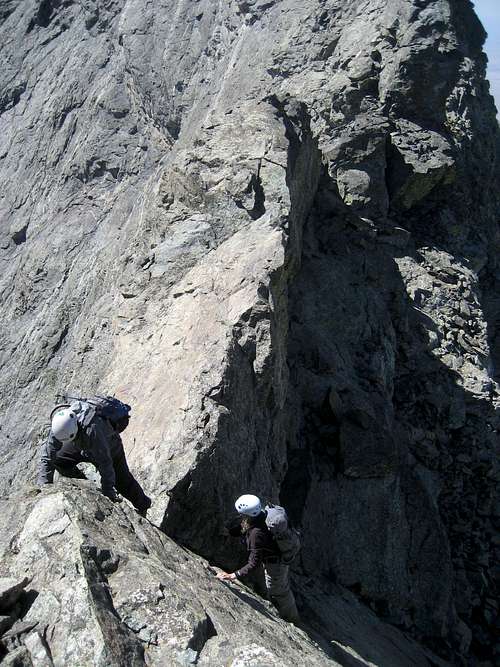
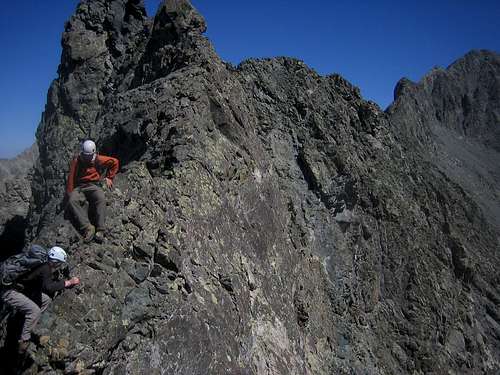
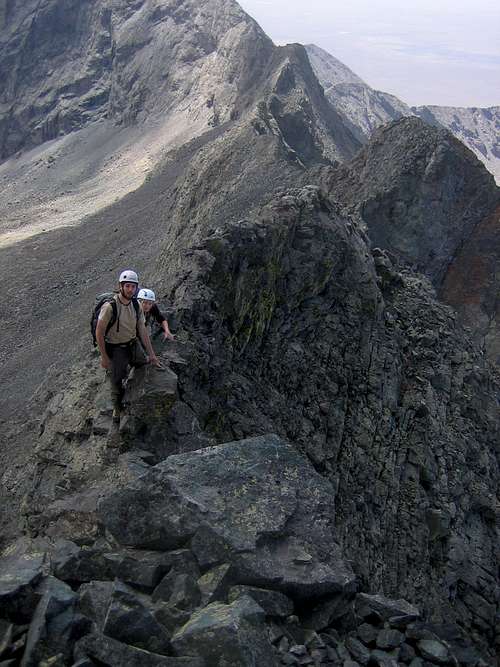
Here’s looking at this first tower from a little ways ahead.
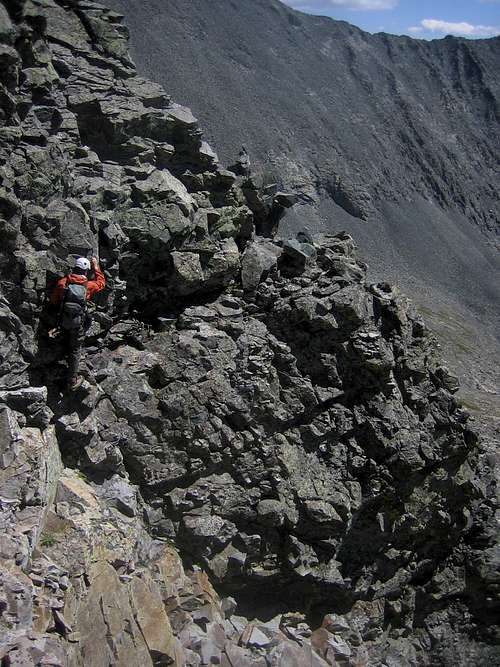
And here’s looking down the knife edge at doumall and Debbie from the tower.
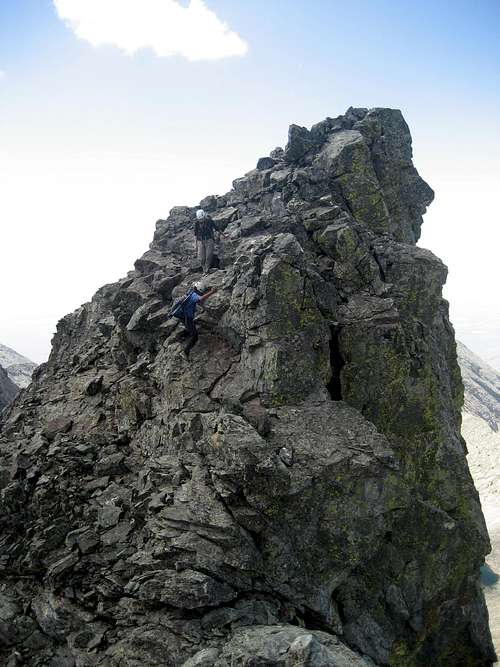
Past this knife edge there was one short section where the ridge widened but this lasted no more than 50 feet. Soon we arrived at the infamous Captain Bivwacko tower marking completion of a fourth of the traverse (distance-wise, a little more time-wise). Someone has placed a cairn right on top of it and doumall decided to go up to it unprotected, whilst demonstrating the tenacity of a mossy barnacle on a Norse Longship’s hull (doumall’s special power is glueyfeet… you name it, he will stick to it). He describes the climbing as 5.5… and describes eloquently, the down-climbing as ‘tricky’.
Captain Bivwacko tower as most every TR suggests, can be skirted on its West side by means of a faint, exposed ledge with reasonably good hand holds. After the tower, we were back to exposed 3rd and 4th Class moves.
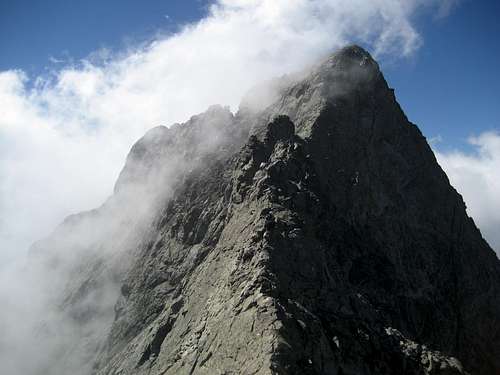
We crested the ridge and stopped for a meal. The weather was perfect. A mist arose along the East Face of the ridge. We set off down the ridge which sharpened to a knife again.
Often, the best way is to grab on to the knife edge and walk along solid footholds along the side of the cliff. Always test your holds though. The holds are not bomb-proof like many incomplete reports suggest. People who describe this traverse are often confused by the mess of towers and knife edges and seem to forget finer details of what they encounter. I sent a rock or two hurtling down the NW Face of the ridge, which had occupied spots below my boot minutes earlier. Concentration and patience are enormously important. Do not move until you are absolutely comfortable with what you are doing.
Past this knife edge section the ridge actually eased out for a bit. It was a welcome change.
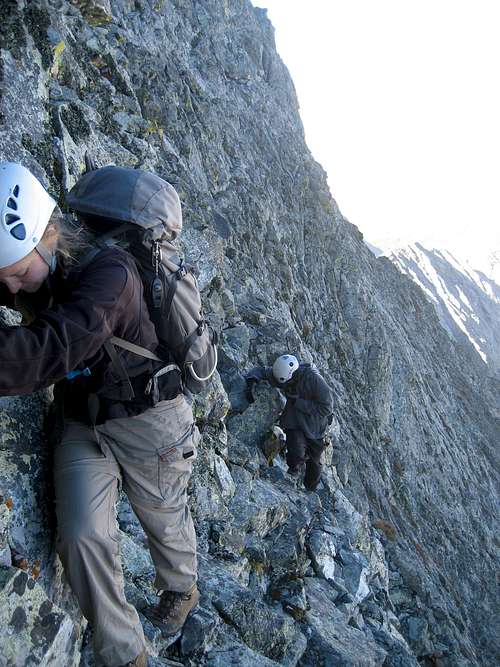
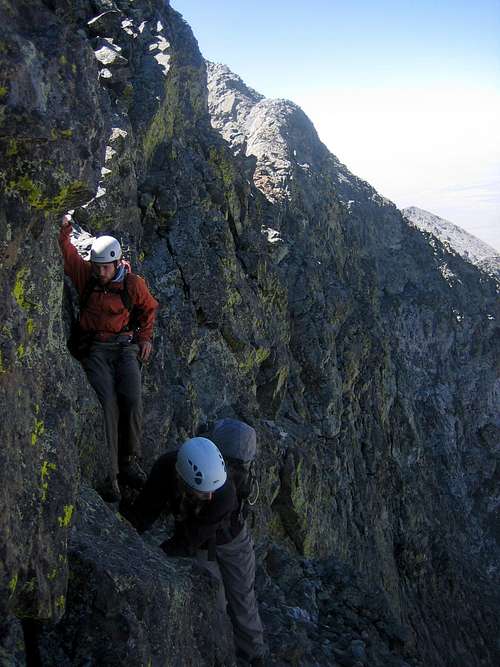
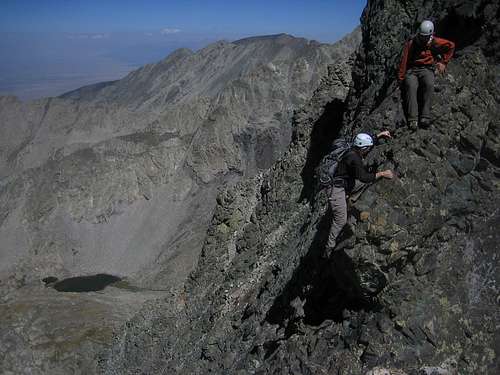
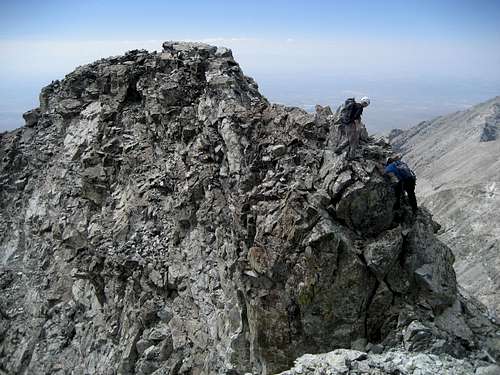
This did not last for too long and we had to complete an exposed side-wise shuffle along a narrow ledge in order to continue on the prescribed route.
This image provides a slightly better perspective on the exposure.
Past this shuffle, for the first time on the traverse we seemed to have made progress towards Blanca. The terrain eased out considerably.
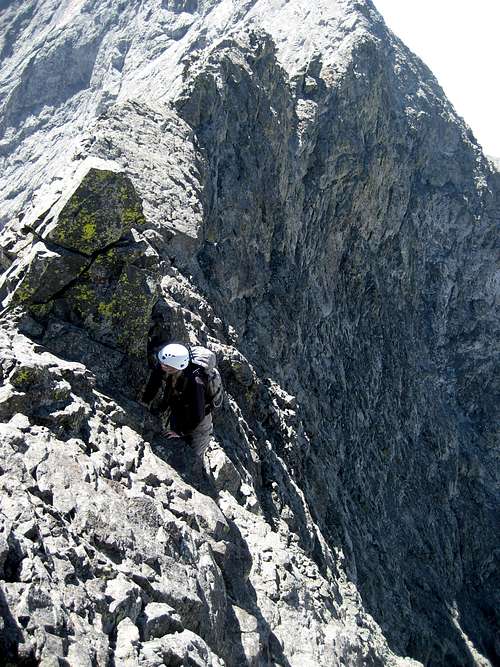
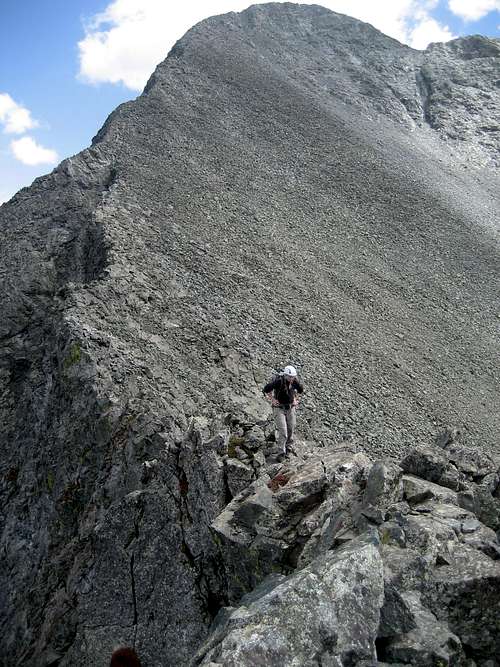
As suggested on several route reports we skirted the first tower at its base, following a talus/scree slope around it to the gully which is used to regain the ridge.
The gully leads up to a wall with great holds. The wall leads you back up to the ridge crest.
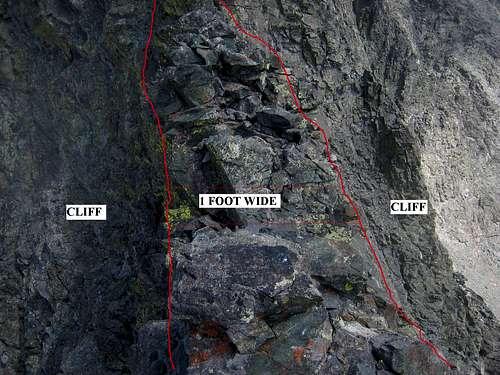
We were lured into thinking the worst exposure was behind us when we were faced with the sweetest knife edge of them all… the “Catwalk”. This bears no resemblance to the superhighway that is the catwalk on the N. Eolus – Eolus connecting ridge. Here, the ridge sharpens to a foot wide and there are no ledges to the side that you can side shuffle over while holding on to the knife edge. You either walk the plank or straddle it and shimmy across. Here’s a picture of the exposure on either face from a spot roughly in the middle of the catwalk. I was trying to get my foot into the frame to provide perspective but a gust of wind suggested that I get my @$$ off of the narrow knife edge as soon as possible.
Debbie navigates across the Catwalk, the worst of the ridge behind her.
After the Catwalk, there were just two more towers to roll over before Blanca.
There was the occasional 4th Class shuffle to be performed to stay on the ridge crest.
Exposure was still rather high.
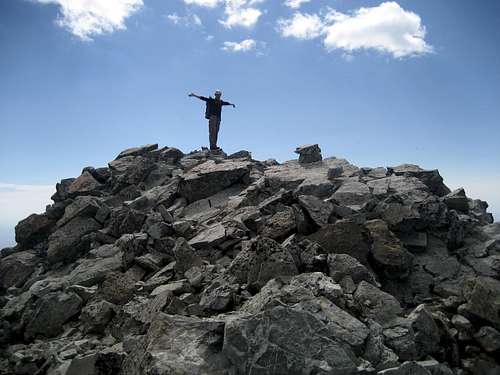
After the 2nd of this series of towers the exposure eased out and the climbing was Class 3 all the way to Blanca. We topped out at 1:50PM, for a relaxed traverse time of 3:25 including a 20 minute break for lunch and several photo-breaks. We were able to take our own sweet time owing to absolutely fantastic weather.
Blanca to Ellingwood and Descent
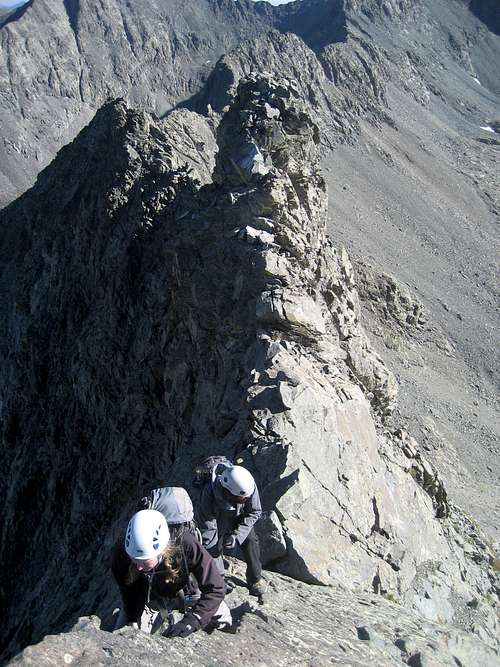
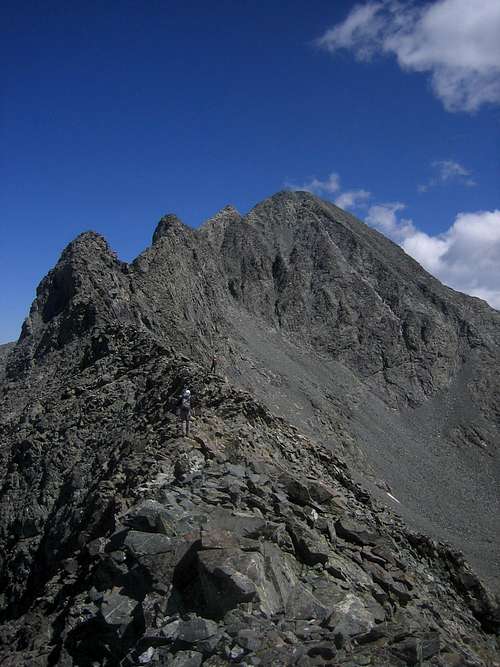
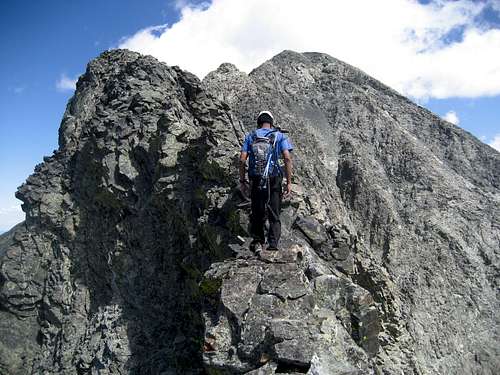
From here doumall and Debbie decided to hop the ridge over to Ellingwood point but I opted out since I had no motivation to re-climb Ellingwood Point, especially after having climbed it only three weeks prior. Instead I decided to descend, pack up camp and check on John. En route I snapped a few pictures of doumall and Debbie on the ridge
Posted below are some of doumall’s pictures from the ridge up to Ellingwood…
And Debbie’s 55th 14er summit…
They continued down along Ellingwood Point’s SW Ridge for a part of the way before cutting it short and descending a scree gully back down to the standard trail. We met back down at the truck at around 6PM for a round-trip time of around 13 hours. The drive back down Lake Como Road was rather aggravating with the sound of angry metal over molten hot boulders. We made it back down after 2 lost mudflaps, a broken tail light and a lot of spotting… those damn Tacomas… why take a slumberous biznatch with a working AC, cushy seats (just the front seats mind you… the rear bench on these trucks is a medieval constriction chamber) and racing suspension on a Nationally ranked “Jeep" Road???? ;). This was the last of Colorado’s 4 great traverses for me and doumall, and definitely my favorite ridge run by a long shot.


Comments
Post a Comment